While almost everyone uses Adobe Reader to view PDFs, it’s a common misconception that you can only edit those PDFs if you buy Adobe Pro. There’s actually quite a lot that you can do with a PDF in Reader, such as fill in a form with your details or add your digital signature or add comments and notes to the document. While you won’t be able to convert the PDF back to Word unless you own Adobe Pro, you can still edit and add your own personal touch to the document while it’s still in PDF format. But how do you do this?
How to Markup a PDF in Adobe Reader.
If you don’t already have the program installed, you can download Adobe Reader for the Windows version or this link if you’re working on a Mac. When you have everything up and running, you can proceed with the guide.
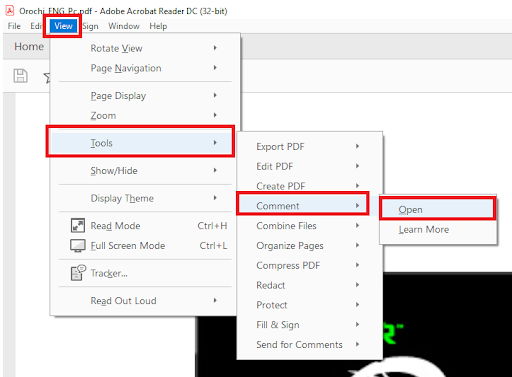
Step 1: Open the document
Open up the PDF that you want to edit and select View from the top menu. Then select Tools → Comment → Open. This displays the Comment bar on the left-hand side of the screen and gives you access to the markup tools at the top of the screen.
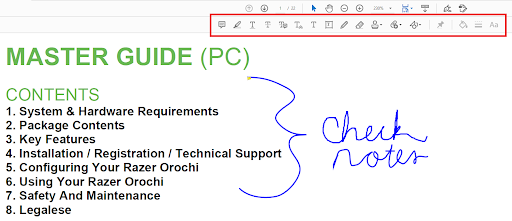
Step 2: Mark the file
Now use the toolbar just above your document to edit, draw and mark your document.
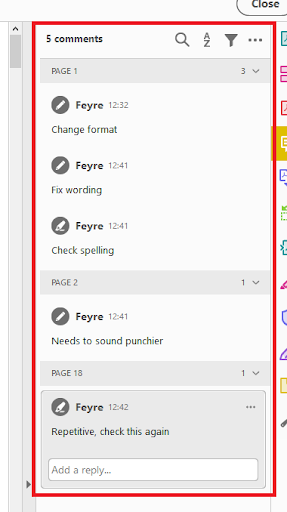
Step 3: Add comments
Any changes and markups that you make will add a comment to the comment box on the screen’s right-hand side. Here you can add additional comments, and someone else can reply to the comments to allow for easy communication.
Step 4: Save the file
Once you’ve made all of the desired changes, save your PDF. Now you can send it to others and allow them to make changes as well, or you can keep the edited version for yourself, depending on your needs.

The Perfect Tweaking Tools
Many people don’t know that the free version of Adobe Reader has so many editing tools, though, which allows for so much customization and effortless collaboration with others. Overall, Adobe has so many features that define it as the best PDF reader around, whether you’re working on PC, iPhone or Android.